
Understanding Vapor Barrier Installation
Vapor barrier installation is a crucial aspect of maintaining a healthy and durable home, particularly for properties with crawl spaces. A vapor barrier serves as a protective layer that prevents moisture from penetrating the walls and foundation of your home. This installation is not just a guideline; it’s an essential step for safeguarding your property against mold, mildew, and structural damage due to excess moisture. In this article, we will explore the ins and outs of Vapor Barrier Installation, detailing its purpose, materials, preparation, and the installation process itself.
What is a Vapor Barrier?
A vapor barrier is a material that restricts the passage of moisture through walls, ceilings, and floors. Typically made from polyethylene, foil, or other similar materials, a vapor barrier is often installed in crawl spaces and basements to protect structures from water vapor migration. The primary function is to minimize humidity levels in these enclosed spaces, thus preventing detrimental moisture levels that can lead to various issues, such as mold growth and structural decay.
Importance of Vapor Barrier Installation
Vapor barrier installation is essential for several reasons:
- Mold Prevention: Excess moisture can lead to the growth of mold and mildew, which compromise indoor air quality.
- Structural Integrity: Moisture can weaken the building’s structure over time, leading to costly repairs.
- Energy Efficiency: A vapor barrier can help improve energy efficiency in heating and cooling by maintaining stable temperatures.
- Health Considerations: By blocking moisture, vapor barriers also reduce allergens and irritants in the home environment.
Common Materials Used
The choice of material for vapor barrier installation can significantly impact its effectiveness. Here are some common materials used:
- Polyethylene Sheets: One of the most popular options due to its affordability and durability.
- Foil Barriers: These reflect heat and are often used in conjunction with insulation.
- Spray Foam: Provides an airtight seal and can double as insulation in certain applications.
Preparation for Installation
Assessing the Crawl Space
Before you begin the vapor barrier installation, assessing the crawl space is essential. Check for any existing moisture issues, cracks in the foundation, or signs of pest infestations. Identifying these issues beforehand allows you to address them—and ensures that the installation will be effective. You may want to consider installing a sump pump if water pooling is prevalent.
Essential Tools and Materials
Having the right tools and materials on hand will facilitate a smoother installation process. Essential items typically include:
- Polyethylene sheeting
- Tape measure
- Utility knife or scissors
- Construction adhesive or vapor barrier tape
- Staple gun and staples
- Gloves and safety goggles
Safety Precautions to Consider
Safety should always be a priority, particularly when working in crawl spaces. Ensure you wear protective gear such as gloves and safety goggles to avoid injuries. Additionally, ensure proper ventilation while working in enclosed spaces to prevent inhalation of any harmful materials.
Step-by-Step Vapor Barrier Installation Process
Clearing the Area
The first step in the installation process involves clearing debris and items from the crawl space. Remove any old insulation or remnants of previous barriers, as these may harbor mold or pests. A clean area provides a better surface for the new vapor barrier.
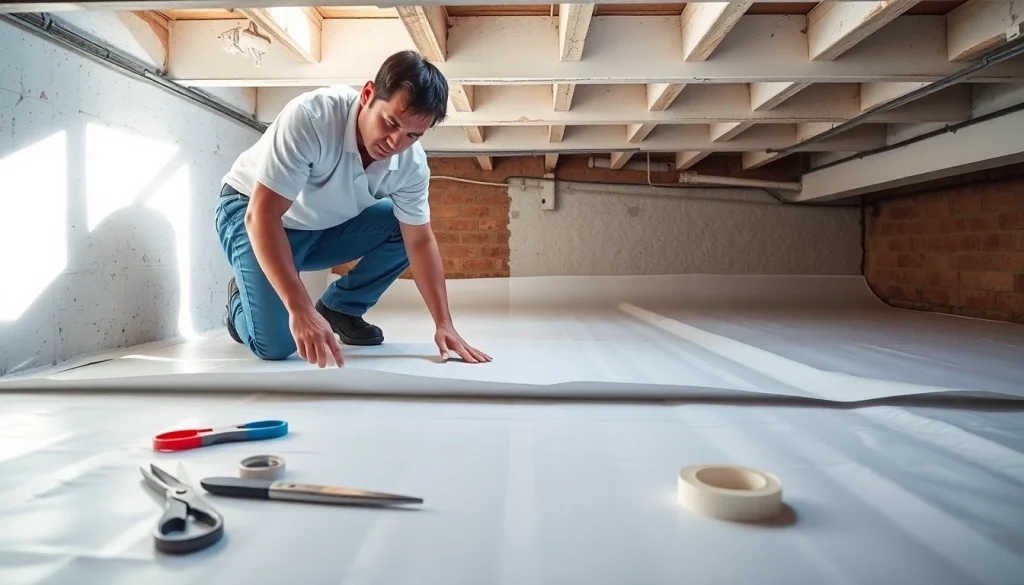
Laying Down the Vapor Barrier
Once the area is clean, it’s time to lay down the vapor barrier. Measure the dimensions of the crawl space to cut the polyethylene sheets appropriately. Overlap seams by at least 12 inches to prevent moisture from seeping through. Remember to extend the barrier up the walls at least 6 inches to ensure a tight seal.
Sealing and Securing the Barrier
After laying the vapor barrier, it’s crucial to secure it properly to eliminate any gaps through which moisture could enter. Use construction adhesive or vapor barrier tape to seal the seams thoroughly. For additional support and stability, you can use a staple gun to attach the barrier to wooden beams or joists in the crawl space. Ensure that there are no wrinkles or folds in the barrier; these can compromise its effectiveness.
Maintenance and Inspection
Regular Checks and Repairs
Post-installation, it’s imperative to conduct regular checks on your vapor barrier. Aim to inspect it at least once a year for tears, damage, or signs of wear. Early detection allows for timely repairs, ensuring the barrier continues to function effectively. Most repairs simply involve re-sealing or patching any holes formed over time.
Indicators of Barrier Failure
Several signs can indicate that your vapor barrier might be failing, including:
- Increased humidity levels in the crawl space
- Visible mold or mildew growth
- Damaged insulation or structural wood
- Pest infestations or odors
When to Call a Professional
If you notice any significant issues or if your inspections reveal problems beyond simple repairs, it may be prudent to consult a professional. An expert can provide a thorough assessment and recommend solutions tailored to your specific situation, ensuring a long-lasting vapor barrier installation.
Frequently Asked Questions About Vapor Barrier Installation
How often should vapor barriers be inspected?
Inspect vapor barriers at least once a year for damages or wear to ensure effectiveness and address any issues promptly.
Can I install a vapor barrier myself?
Yes, with the right tools and guidance available, many homeowners can successfully install a vapor barrier themselves without professional assistance.
What materials are best for vapor barriers?
Polyethylene films are commonly used due to their durability, versatility, and effectiveness in preventing moisture ingress.
Do I need a vapor barrier in all climates?
Not necessarily; whether you need a vapor barrier depends on humidity levels and moisture conditions. It’s advisable to consult a local expert for guidance.
How does a vapor barrier affect energy efficiency?
A vapor barrier can enhance energy efficiency by reducing moisture levels, which makes it easier to maintain consistent temperatures for heating and cooling systems.